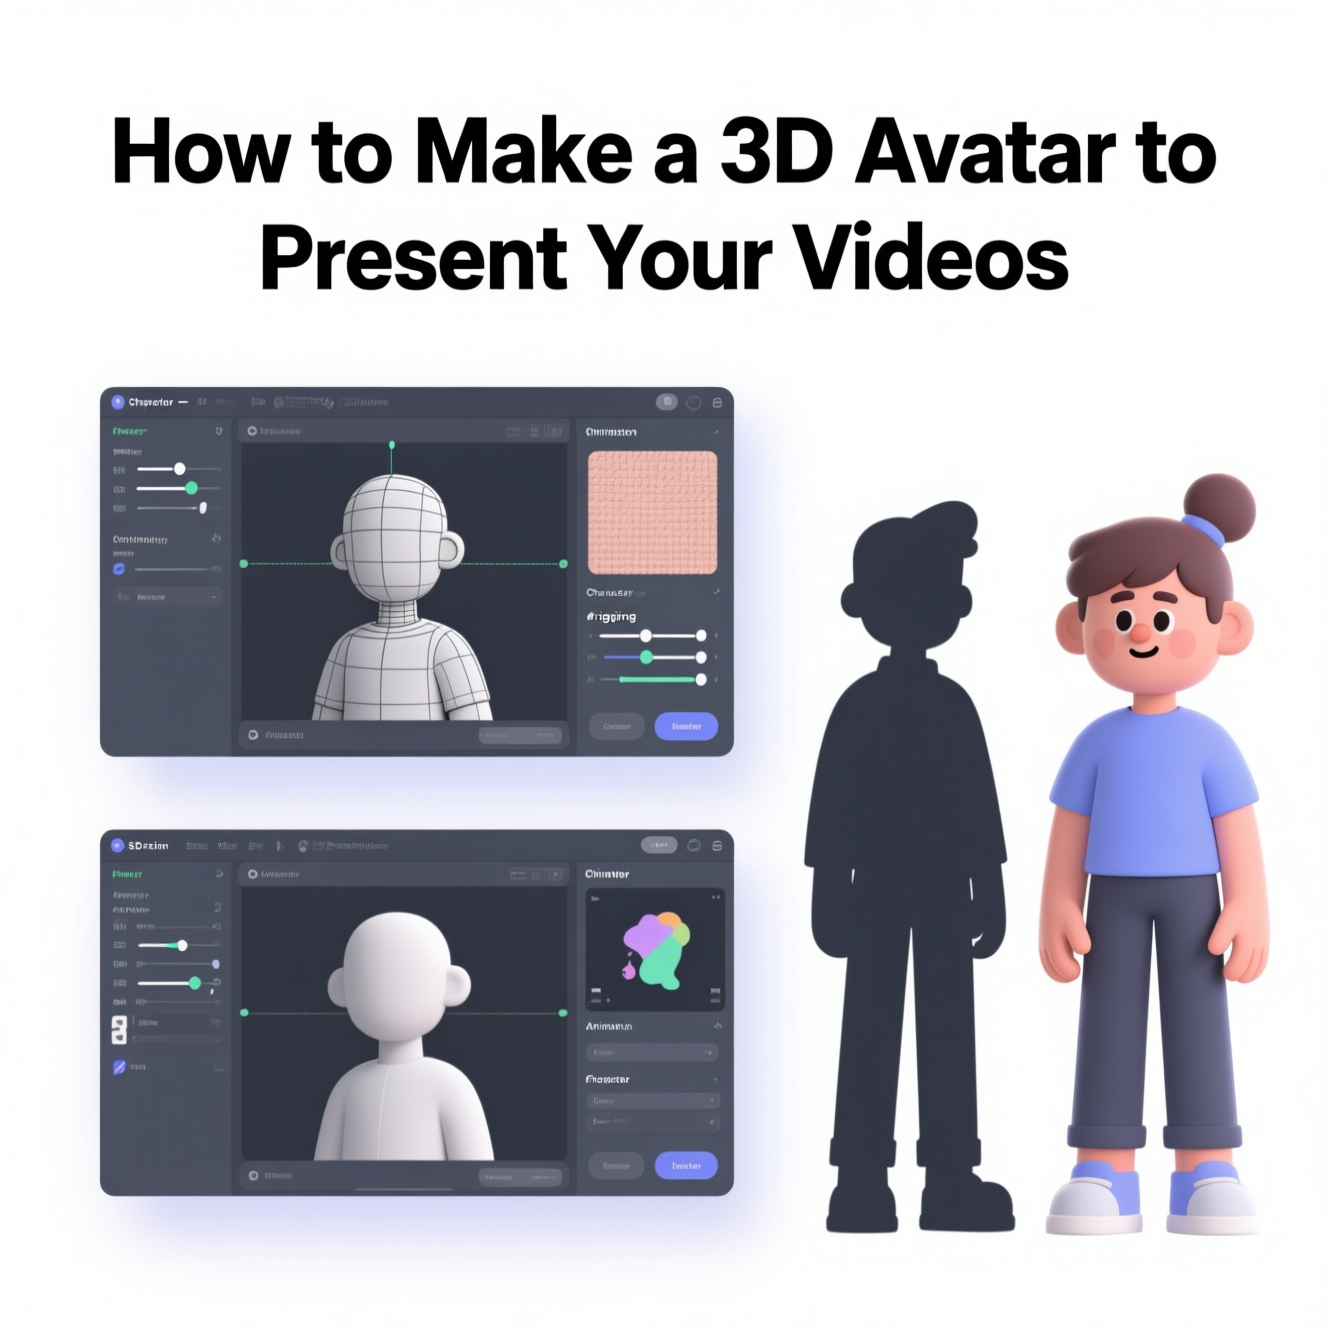
If you’ve ever wanted to explain something on video without showing your face, a 3D avatar is the perfect solution. Thanks to AI, it’s now incredibly easy to create a cartoon version of yourself, bring it to life, and even make it talk with your own voice.
In this guide, I’ll walk you through two different approaches:
-
A quick method that anyone can try in minutes.
-
A more advanced Pixar-style method for polished, professional-looking avatars.
🎨 Method 1 – Quick & Easy Avatar
This method is ideal if you’re just getting started and want results fast.
Step 1 – Turn Your Photo Into a 3D Cartoon
Upload a photo of yourself to ChatGPT (with image generation enabled) and type:
Prompt:
Transform this photo into a 3D children’s animation style
This gives you a fun cartoon-like version of yourself.
Step 2 – Animate the Image
Use a free image-to-video tool such as AI Free Video.
Prompt:
Talking to the viewer, static camera
This creates a short video clip where your avatar looks like it’s speaking.
Step 3 – Add Your Voice with Dreamface
Go to Dreamface, upload your animated video, and then add a recording of your voice.
-
Free plan: up to 30 seconds per audio, max 10 uploads per day.
And just like that, your avatar can talk!
🎬 Method 2 – Advanced Pixar-Style Avatar
This approach creates a more cinematic avatar with the look and feel of a Pixar movie character.
Step 1 – Generate a Pixar-Style Prompt
Upload your photo into ChatGPT and ask it to build a detailed Pixar-style prompt.
Example Prompt:
Ultra-detailed 3D Pixar cartoon style portrait of a smiling man with brown skin, shaved head, short beard, expressive eyes, wearing a white shirt. Cinematic soft lighting, clean background, Pixar-style proportions with slightly exaggerated features, friendly and charismatic look, high quality render, vibrant colors, perfect for an animated movie character.
You can customize details such as:
-
Clothing (e.g., “a t-shirt with the word Brazil”)
-
Background (e.g., “futuristic tech setting”)
-
Pose (e.g., “photographic portrait, looking directly at the viewer”)
Step 2 – Create the Avatar in Piclumen
Go to Piclumen and select the style PicLumen Art V1.
-
Paste in your Pixar-style prompt.
-
Generate multiple results.
-
If the output isn’t right, tweak the prompt and try again.
Step 3 – Animate and Lip-Sync
Once you have the image, bring it to life using tools like Dreamface or another lip-sync platform.
Now you’ll have a professional Pixar-style avatar that talks with your real voice.
🧑🎨 Example Avatar Prompt (My Version)
Here’s the exact prompt I used for my own character:
Image of a young man with a beard and black hair wearing a blue t-shirt with the text "California Digital". 3D Pixar cartoon style. In the background, a blurred technological environment.
To personalize it:
-
Upload your photo.
-
Use the prompt above as a base.
-
Add this instruction:
Adjust the previous prompt to match my appearance in 3D Pixar style.
On my t-shirt, write: _______.
I should be centered in the image, looking at the viewer.
🚀 Final Thoughts
With today’s AI tools, anyone can build a 3D avatar — from a quick cartoon version to a polished Pixar-style character.
-
The simple method is perfect for beginners and fast results.
-
The advanced method gives you a professional, movie-like avatar.
Either way, you’ll have a fun, creative way to present your content on YouTube, TikTok, Reels, or online courses — without ever stepping in front of the camera.


